The great thing about children getting older is that they sleep better, and all of a sudden you start to find that some of that free time comes back to you. With an incomplete Mendel90 looking at me every time I go into the garage, I decided now was the time to get that project moving again.
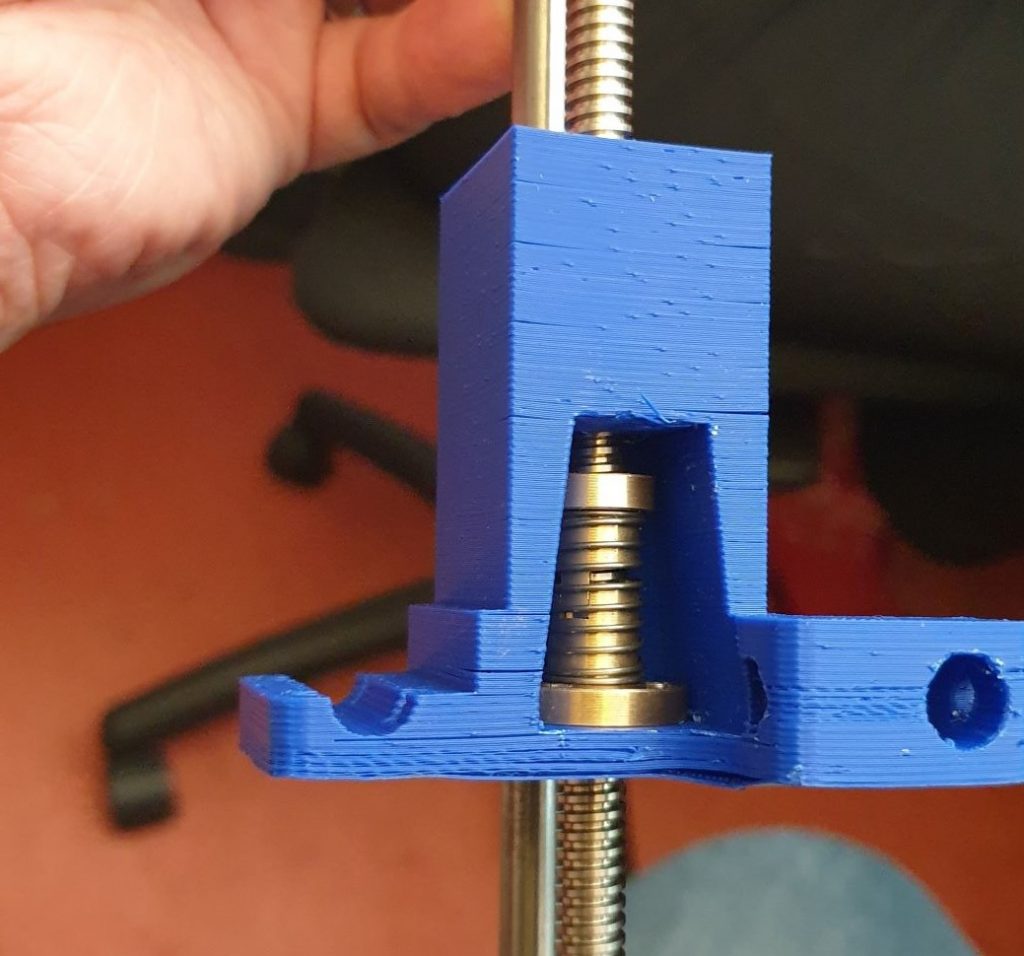
I’d already sourced the Z-axis Lead screws and anti-backlash nuts, now I needed new X-Axis/Z-Axis interfaces to integrate them. One of the great things about the Mendel90 design, and a real credit to it’s creator (Nophead) was that the whole thing was done in OpenSCAD. As CAD packages go it’s very simple. But like many simple things, you can combine them in increasingly complex ways to make things like Integrated Circuits, Software algorithms and 3D printers.
OpenSCAD is presented much like a software application – a few language constructs, some basic functions and the world is your molusc. Diving into the Mendel90 project (I took a fork of it when I first got my kit) I started to adjust a few parameters of the X-axis and soon I was printing out replacement parts.

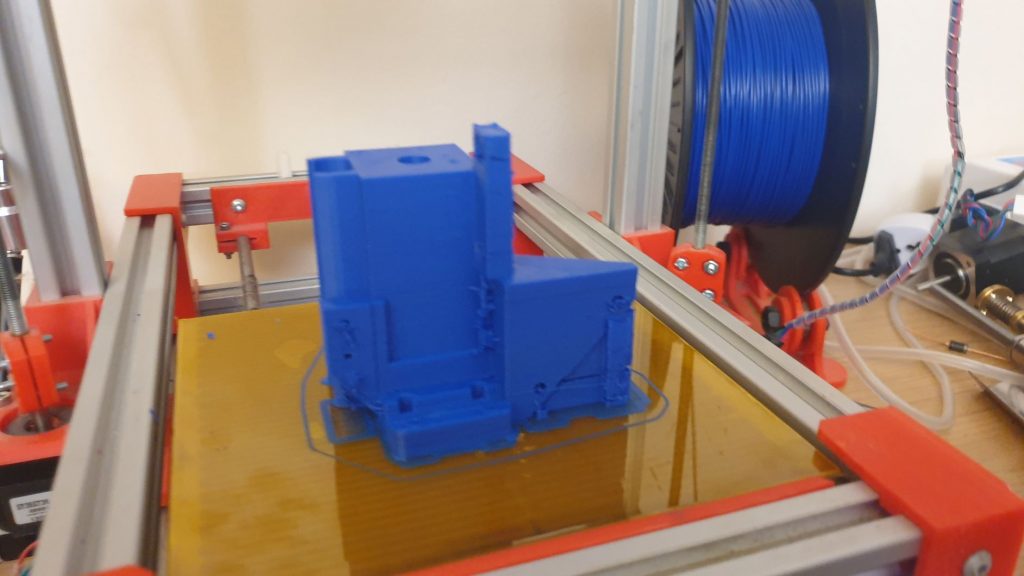
As is typical of 3D printer ownership, I had a few problems (bed adhesion was not one of them!) with the print. I’m not sure if I’m seeing the result of a blocked nozzle, a filament or a heating issue. Given that most of the load is down through the layers and the vertical aspect of the tower is only there to present a reference for endstops and support the upper linear bearing, I was happy to continue with the part. As a precaution, I performed some cold pulls to see if anything came out and found what looked like carbonisation coming out, so I suspect that the ABS had been overcooking somewhat in nozzle. This may be the result of low quality ABS, age (the reel was nearly 4 years old, and despite being relatively dry stored, there will still be some moisture absorption) or other contamination.

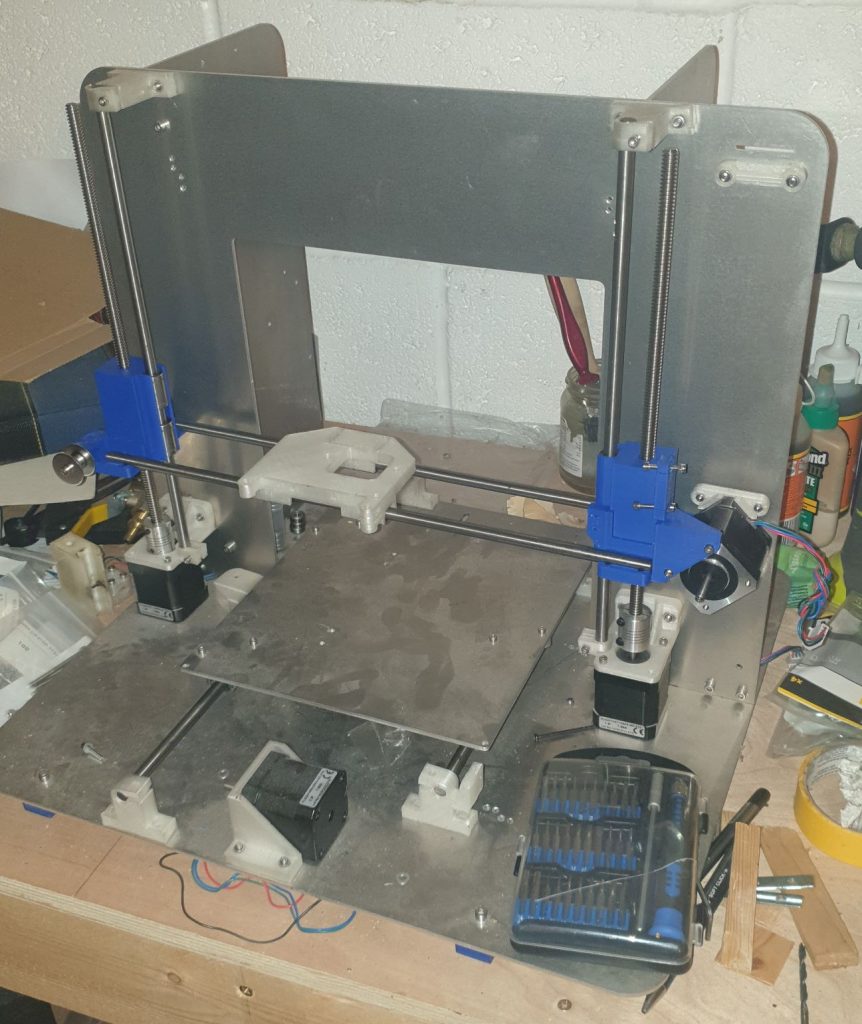
Alignment checks on the axis/motors all looked good and running the mechanism up and down the axis showed everything to be running free and true.
Only a few mechanical tasks remain (Fit Y-Axis, belts and check alignments) before the electronics can start.
Leave a Reply
You must be logged in to post a comment.